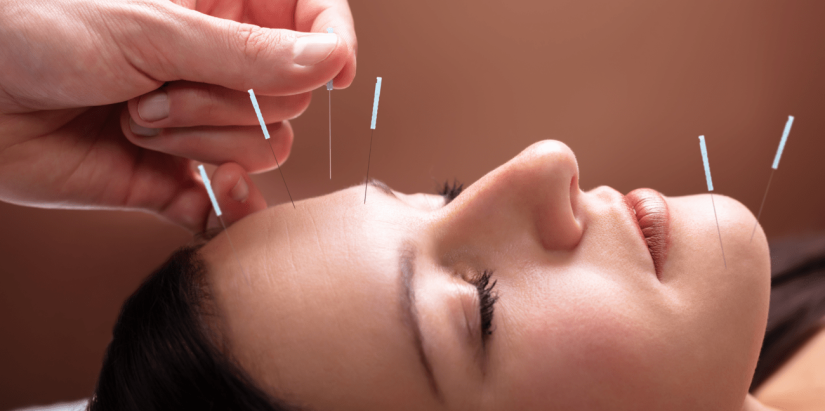
Acupuncture is a Traditional Chinese Medicine treatment created over two thousand years ago and has been gaining more and more popularity throughout the decades.
The practice of acupuncture consists in stimulating specific points of the body with needles aiming to bring a variety of benefits and treat illness from chronic and acute pain to psychological and emotional conditions.
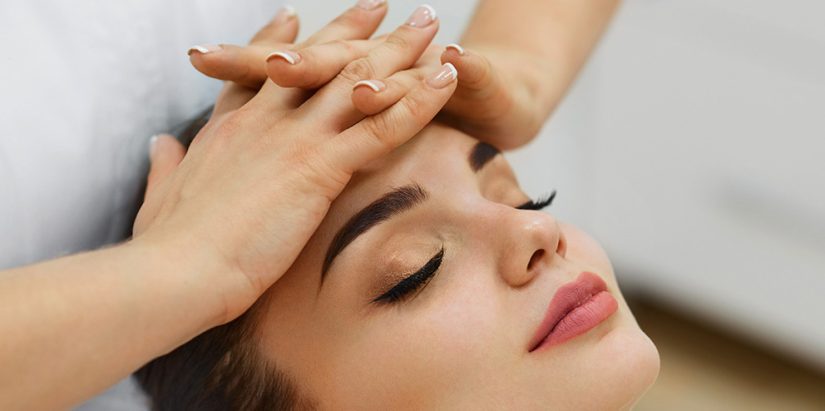
If you’re here, it’s because you have been already considering starting your healing journey with acupuncture. So, let’s explore together what this amazing technique has to offer!
Acupuncture hurts.
MYTH. The majority of people only feel a slight pressure from the needle insertion, but overall acupuncture is pain-free and considered a relaxing experience by many.
Acupuncture can treat physical and psychological issues.
FACT. Acupuncture can focus on chronic and acute physical pains as well as emotional and physiological conditions such as stress, anxiety, depression, among others.
Acupuncture is a fast solution for all health issues.
MYTH. Acupuncture follows a holistic approach and takes into consideration the patient’s lifestyle, general health and other specific conditions related to the illness. Therefore, the registered acupuncturist will recommend the optimal number of sessions to achieve the desired results.
Acupuncture is safe.
FACT. Acupuncture is a globally recognized treatment and is performed by registered practitioners that guarantee all safety protocols are followed through the session. The needles used during the procedure are sterilized, individually packed, and never reused to make sure that there are no chances of infections and contaminations.
Older people cannot do acupuncture
MYTH. The technique is safe for adults of all ages, with very few contraindications. For elderly people, acupuncture can be extremely beneficial to treat cardiorespiratory and neurological illnesses, as well as diabetes and Parkinson disease, among others.
Acupuncture stimulates the immune system.
FACT. Acupuncture can stimulate the liberation of endorphins and neurotransmitters, which improves the blood flow and stimulates the immune system.
There are no contraindications for acupuncture treatment.
MYTH. Although acupuncture is safe and effective for most people, those who suffer from bleeding disorders, are taking anticoagulant medicine or have any kind of metal allergy, must consult with the practitioner prior to the acupuncture session. Also, some areas of the body have to be avoided during pregnancy in order not to induce labor.
Acupuncture can help in the weight loss process.
FACT. The long-term application of acupuncture can assist patients to lose weight. This is mainly related to anxiety control related to binge eating impulse. Also, acupuncture is effective in decreasing liquid retention, which can help patients to feel less bloated.
Acupuncture has a lot of side effects and requires lots of downtime.
MYTH. Acupuncture has few to no side effects. After a session you might experience some minor bruises on the needle areas, which should go away after a couple of days. Other than that, there is no need to skip work or not continue with your regular daily activities after the procedure, unless recommended directly by your practitioner.
Only certified professionals can do acupuncture.
FACT. Make sure that the acupuncture practitioner is certified in Canada to secure a safe and effective procedure. At Maryam Collahi Medspa, we have an amazing registered acupuncturist in our team. Einaz Farahmand has completed her extensive Doctor of Chinese Medicine at ICTMV and is currently registered as an Acupuncturist with the CTCMA.
Book your initial acupuncture appointment today and begin to enjoy the multiple benefits of this amazing treatment!